A Closer Look at the Embroidery Digitizing Services Used for Different Projects
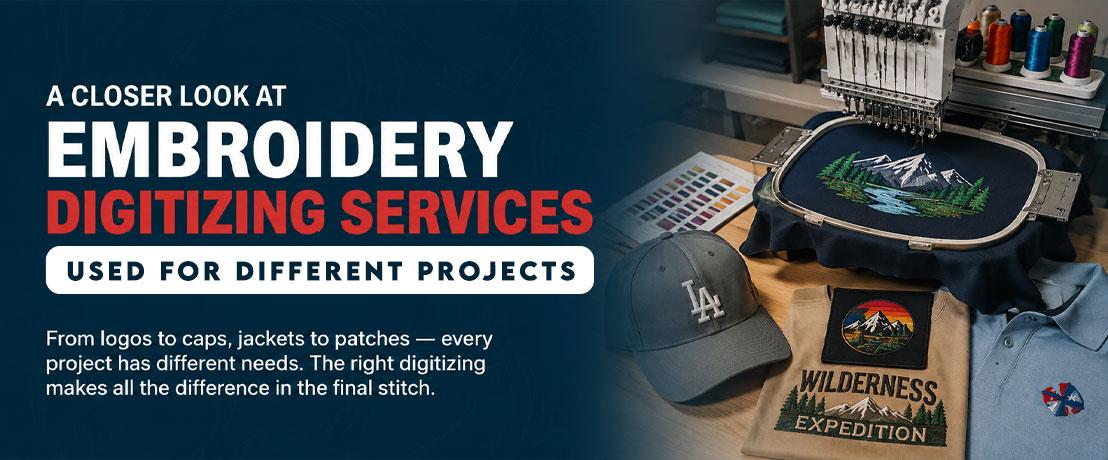
A logo that stitches cleanly on a polo shirt may not work the same way on a trucker cap or jacket back. That is where Embroidery Digitizing Services become important. The artwork, fabric, placement, and final use all change how a digitizer builds the stitch file. The same goes for projects such as logos, caps, large back designs, and embroidery patches.
Basically, embroidery starts with the same goal: turn artwork into stitches that look clean on the finished item. But the path to that result changes from project to project. A good digitizer looks beyond the image itself and considers where the design will sit, how large it needs to be, and what surface will support it.
Why Different Projects Need Different Embroidery Digitizing Services?
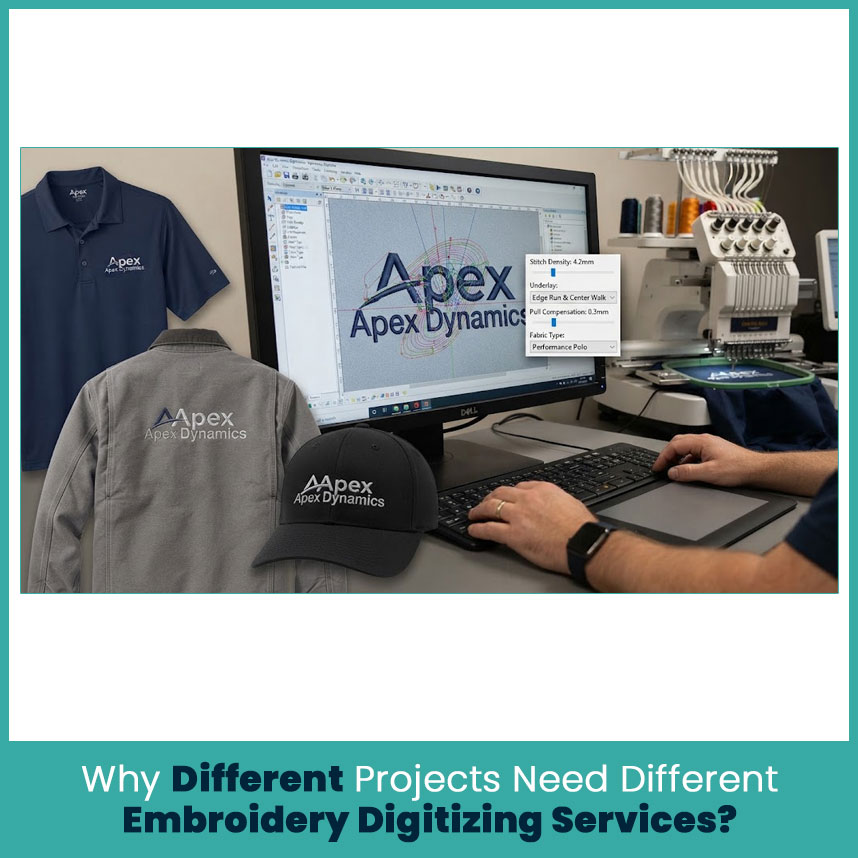
Here is the part that sometimes gets missed: a digitized file is not just a converted picture. It is a stitch plan built around a specific embroidery project.
For example. A left chest logo usually has a smaller working area and may include tiny lettering. A cap has a curved crown and center seam. A large jacket design covers more fabric and creates more pull as stitches build up. Using the exact same file for every item can create problems that did not show up in the original sewout.
That is why the digitizer needs to look at the whole project before choosing stitch types, density, underlay, compensation, and stitch direction. Cap embroidery, in particular, requires planning around the curved surface and center seam, while large designs need careful control of stitch coverage and direction.
Logo Digitizing Services for Branded Apparel and Uniforms
Logo work is one of the most common parts of machine embroidery, but “logo digitizing” covers more than simply tracing the artwork. The finished size matters. So does the fabric.
A bold logo on a work jacket gives the digitizer more room than a compact logo placed on the left chest of a polo. When artwork contains small text, thin lines, or closely spaced elements, the digitizer may need to adjust the stitch plan so those details remain recognizable after stitching.
What Makes Apparel Logo Digitizing Different?
Apparel moves, stretches, and reacts differently depending on the material. A dense design that looks fine on a firm jacket can pull a lighter polo fabric and create puckering around the logo.
This is where practical digitizing decisions come in. The goal is not to copy every pixel from the original image. The goal is to reproduce the important visual details in thread.
A good file considers:
Final embroidery size
Fabric weight and stability
Logo placement
Amount of small lettering
Width of thin lines
Underlay needed to support the top stitches
Pull and push caused during stitching
Basically, a clean result starts before the machine begins stitching.
Stitch Density and Detail for Everyday Wear
Stitch density needs balance. Too little coverage can expose the fabric underneath. Too much density can make the design stiff and may pull the material out of shape.
For everyday apparel, the digitizer also needs to think about how the item will look after regular use. Fine details that appear perfect on a computer screen may close up once thread, fabric, and stitch tension enter the picture.
That is why simplifying a very small detail is sometimes a better choice than forcing every part of the original artwork into a tiny space.
Common Projects That Need Logo Digitizing
Logo digitizing is commonly used for business and organization branding where the same artwork appears on wearable items.
Typical examples include:
Company uniforms
Restaurant and hospitality apparel
School and team clothing
Staff shirts
Event apparel
Promotional garments
Polo Shirts, Workwear, Uniforms, and Promotional Apparel
These items may use the same company logo, but they do not always need the same stitch file. A logo placed on a heavy work jacket behaves differently from one stitched on a lightweight polo.
The basic artwork may stay the same. The stitch settings, however, may change based on the material and placement.
That small adjustment can make a noticeable difference once the garment comes off the hoop.
Cap and Hat Digitizing Services for Structured Headwear
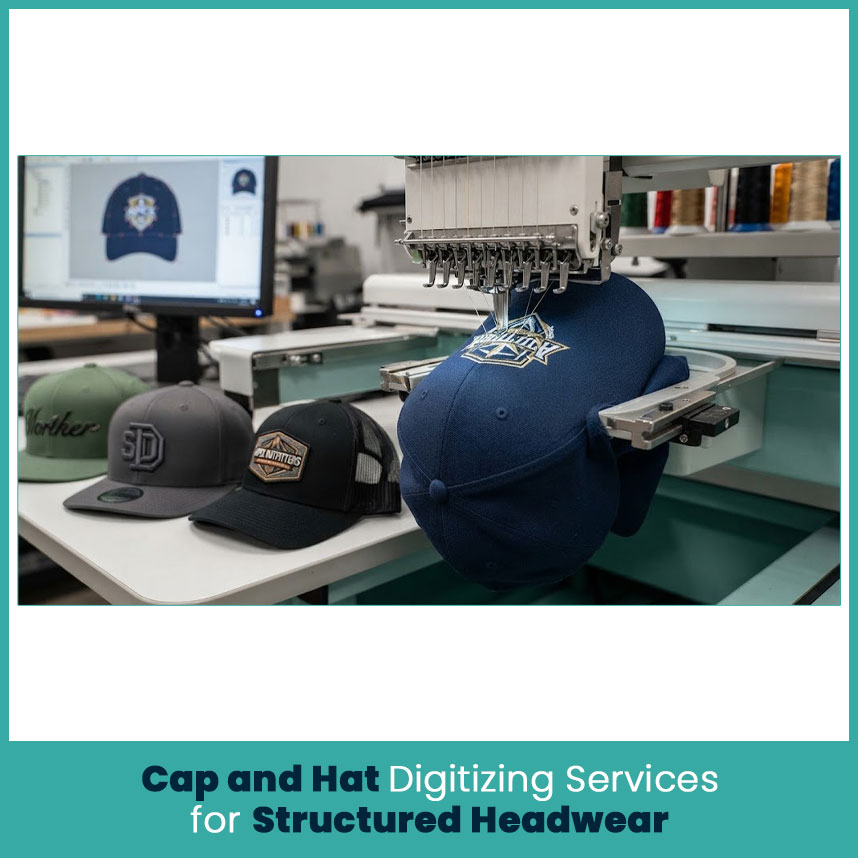
Caps bring a different set of challenges to the table. Unlike a flat shirt, the embroidery area curves around the crown, and many caps have a center seam directly where the design sits.
A file created for a flat garment should not simply move over to a cap without review. Cap specific digitizing takes the curved surface, seam placement, underlay, stitch direction, and limited embroidery area into account.
Why Hat Designs Need a Specialized Digitizing Approach?
The front of a structured cap has a firm surface, but that doesn’t make the project simple. The crown curves away from the stitching area, and the center seam can interfere with fine details.
The digitizer needs to plan the sequence carefully so the design stays balanced while the machine works across the curved panel. In many cases, stitching from the center outward helps reduce distortion around the seam.
Working With Limited Space and Curved Surfaces
Cap fronts have less room than a jacket back or shirt front. This means the artwork sometimes needs adjustment before digitizing.
Common changes include:
Removing details that become too small
Opening the spacing between letters
Thickening narrow elements
Adjusting stitch direction
Reducing unnecessary stitch buildup
Planning around the center seam
Actually, this is one area where trying to keep every original detail can hurt the final result. Readability usually matters more than squeezing a complicated design into a small cap front.
Projects Commonly Created With Cap Digitizing
Cap specific files are commonly used for:
Baseball caps
Trucker hats
Structured snapbacks
Fitted caps
Branded headwear
Some beanie and visor designs
Baseball Caps, Trucker Hats, and Branded Headwear
Different cap styles can also change the digitizing approach. A firm structured front panel behaves differently from a softer, unstructured cap.
The same artwork may therefore need separate adjustments for each style. Material, panel structure, and placement all matter before the file reaches the embroidery machine.
Patch Digitizing Services for Custom Embroidered Patches
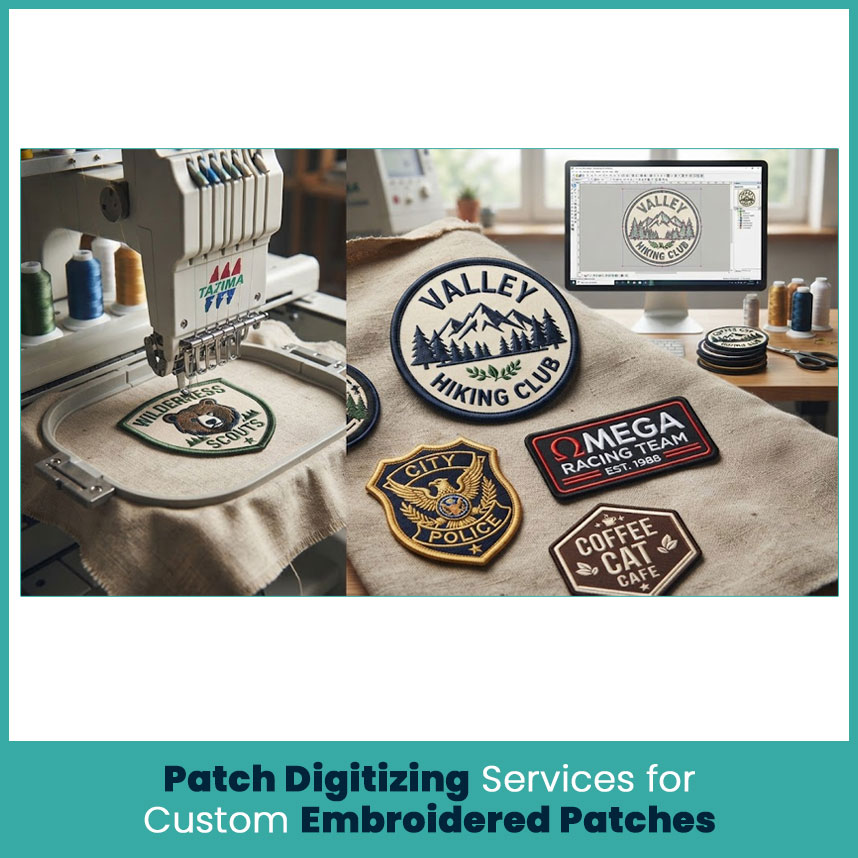
Patch work requires a different mindset because the design usually needs a defined edge and a finished shape. The border becomes part of the overall appearance, not just a finishing detail.
A clean patch file needs the artwork, stitch area, border style, and backing process to work together. Common patch projects include badges, emblems, club designs, team insignias, and branded pieces.
How Patch Digitizing Support Clean Borders and Fine Details?
A border that shifts or leaves gaps can make an otherwise good design look unfinished. The digitizer needs to build the shape carefully so the edge follows the artwork cleanly.
Fine details also need attention because thread has physical limits. Small spaces can close up, and narrow lines may disappear if the design is reduced too much.
Choosing the Right Stitch Setup for Patch Designs
The stitch setup depends on the design and border style. Some projects use a satin border, while others may use a different edge finish.
The digitizer typically reviews:
Shape of the patch
Border style
Detail level
Final size
Stitch direction
Color changes
Areas that need stronger coverage
The goal is simple: the design should look complete and balanced from the center all the way to the edge.
Projects That Commonly Use Patch Digitizing
Patch-style digitizing works well for projects where the embroidered design needs to stand on its own before attachment.
Uniform Patches, Club Patches, and Promotional Patches
Uniform badges and club designs usually need clear shapes and readable text because people often view them from a short distance.
For promotional pieces, brand recognition matters just as much. A complicated logo may need small adjustments so it remains recognizable in thread at the intended size.
Jacket Back and Large Design Digitizing for Bigger Embroidery Projects
Large embroidery changes the game because more stitched area means more interaction between thread and fabric.
A design may look simple as artwork but become technically demanding once it covers a large section of a jacket or garment. Heavy stitch buildup can create stiffness, distortion, or puckering if the file is not planned carefully.
What Changes When a Design Covers a Larger Area?
Large artwork gives the digitizer more room for detail, but it also creates more areas that need careful planning.
Long stitch sections, large fills, and multiple design elements all influence how the fabric reacts during embroidery.
Instead of treating the artwork as one large stitched block, the digitizer may divide and sequence elements in a way that manages pull and keeps the design visually balanced.
Managing Stitch Direction and Design Coverage
Stitch direction plays a major role in how large fills sit on fabric. Changing the direction between sections can also help create definition between design elements.
A practical approach usually focuses on:
Controlling large fill areas
Avoiding unnecessary stitch buildup
Planning logical stitch paths
Managing fabric pull
Keeping separate elements visually clear
In other words, bigger artwork needs more planning, not just more stitches.
Common Uses for Large Format Digitizing
Large format designs commonly appear on:
Jacket backs
Team apparel
Fashion pieces
Event garments
Club clothing
Decorative back designs
Jacket Backs, Team Apparel, and Statement Designs
A jacket back gives artwork more space to make an impact. That extra space can support larger lettering, mascots, decorative graphics, and layered elements.
Still, size doesn’t remove technical limits. The fabric type, stabilizing method, and total stitched coverage still matter. A balanced design usually performs better than one packed with unnecessary fills.
Small Lettering and Detailed Design Digitizing Services
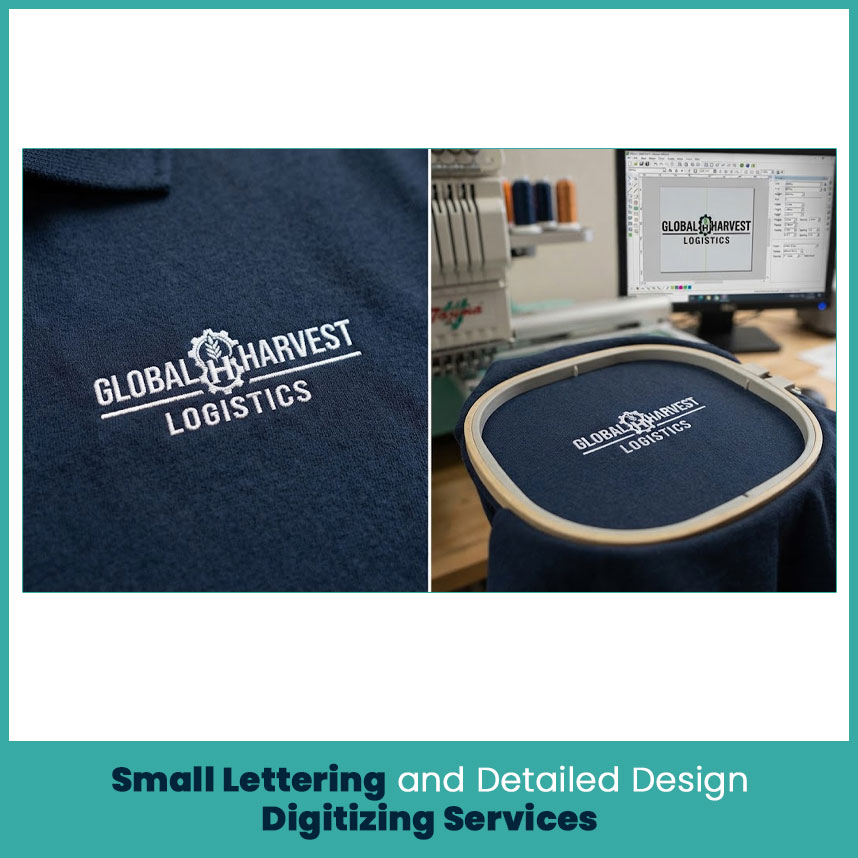
Small lettering is one of those areas where a design can look excellent on screen and become difficult to read after stitching.
The problem is very simple: thread has thickness. When letters become too small, the spaces inside and between them can close up.
Why Small Text Needs Extra Attention During Digitizing?
The digitizer has to study each letter instead of relying only on the original font or artwork.
Sometimes the best solution involves slightly changing letter spacing, simplifying a font, or adjusting the width of certain parts of a character.
That doesn’t mean changing the identity of the design. It means adapting it to the physical limits of embroidery.
Keeping Letters Clear at a Reduced Size
For small text, a few details matter a lot:
Font style
Letter height
Space between characters
Stitch type
Column width
Fabric texture
Placement of the design
Simple lettering generally holds up better than highly decorative fonts when space becomes limited. On curved cap surfaces, small text becomes even more challenging because the surface and seam can affect clarity.
Projects Where Detail Focused Digitizing Matters
Detailed digitizing becomes important when a design includes small or closely packed elements.
Chest Logos, Name Designs, and Detailed Branding
Left chest logos commonly need this level of attention because the available area is relatively small.
Name designs, department identifiers, and detailed brand marks can also require careful adjustments. The main goal is to keep the important information readable rather than reproducing tiny details that no longer work at the final size.
Specialty Embroidery Digitizing Services for Unique Design Effects
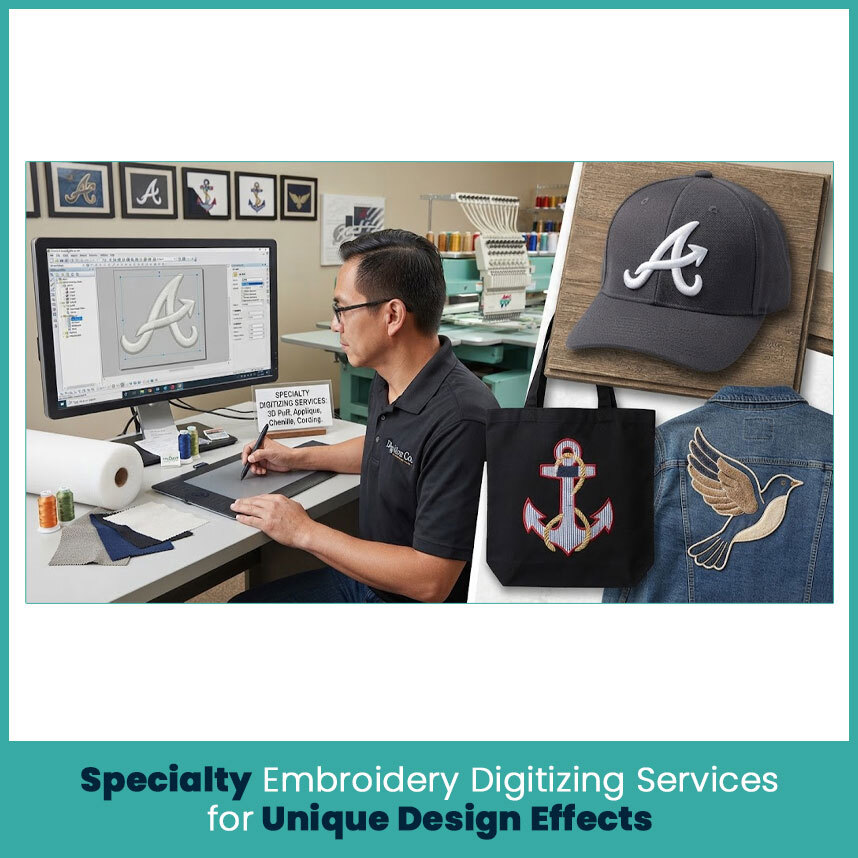
Some projects need more than standard flat stitching. Raised designs, fabric based applique, and other decorative effects each require their own stitch planning.
This is where a digitizer first needs to understand the intended look rather than jumping straight into the software.
When a Standard Digitizing Setup is Not Enough?
A standard flat file may not work correctly when the design uses foam for a raised effect or fabric pieces as part of the artwork.
The materials themselves change the stitch plan. For example, 3D puff work uses foam beneath the stitching and generally works best with bold shapes and wider satin columns. Fine details and thin elements do not convert as cleanly.
Projects That Require a Specific Embroidery Effect
Specialized work can suit:
Raised logos on structured headwear.
Bold lettering..
Decorative apparel.
Large fabric based design elements.
Custom brand graphics.
The best technique depends on the artwork and the final item. Not every design needs a specialty effect, and not every effect works with every level of detail.
Popular Specialty Digitizing Applications
3D puff and applique are two common examples, but they serve different purposes.
3D Puff, Applique, and Other Decorative Effects
3D puff creates a raised surface by stitching over foam. It works particularly well with bold letters and simple shapes, while fine text usually needs a flatter treatment.
Applique uses fabric as part of the design, with placement and tack-down steps followed by a finishing stitch around the edge. This approach can work well when a large area would otherwise require extensive fill stitching.
FAQs
What types of projects can embroidery digitizing services be used for?
They can support logos, uniforms, caps, patches, jacket backs, small lettering, decorative artwork, and specialty effects such as 3D puff or applique.
Do logos, caps, patches, and large designs need different digitizing services?
Yes. Each project has different size, fabric, placement, surface, and stitch requirements, so the same artwork may need a different stitch file.
Can the same design be used for different embroidery projects?
Yes, but the artwork may need separate digitizing adjustments for each item, especially when moving between flat garments, curved caps, patches, and large placements.
What information should I provide before requesting an embroidery digitizing service?
Provide the artwork, final size, placement, item or fabric type, machine format, and any reference showing how you want the finished embroidery to look.
Author Bio
Matthew Davis
Senior Embroidery Digitizer
I'm Matthew Davis, a skilled embroidery digitizer with more than 15 years of practical experience. I specialize in logo digitizing, 3D puff embroidery designs, applique digitizing, custom embroidery digitizing, and working with difficult fabrics.
Over the years, I have worked with different fashion brands and production teams worldwide.
I always share simple tips and useful techniques to help both beginners and businesses improve their embroidery work.